Hyundai Elantra (CN7): Rear Seat / Rear Seat Assembly
Hyundai Elantra (CN7) 2021-2026 Service Manual / Body (Interior and Exterior) / Rear Seat / Rear Seat Assembly
Components and components location
| Component Location |
[General type]
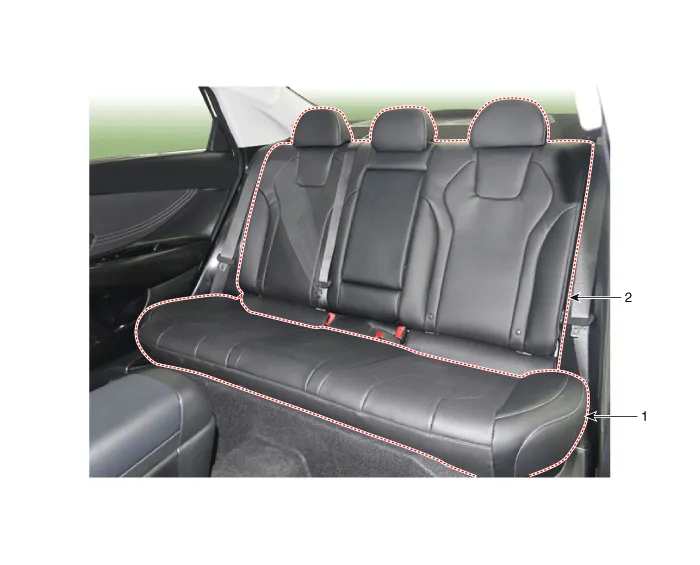
| 1. Rear seat cushion assembly | 2. Rear seat back assembly |
[N Line]
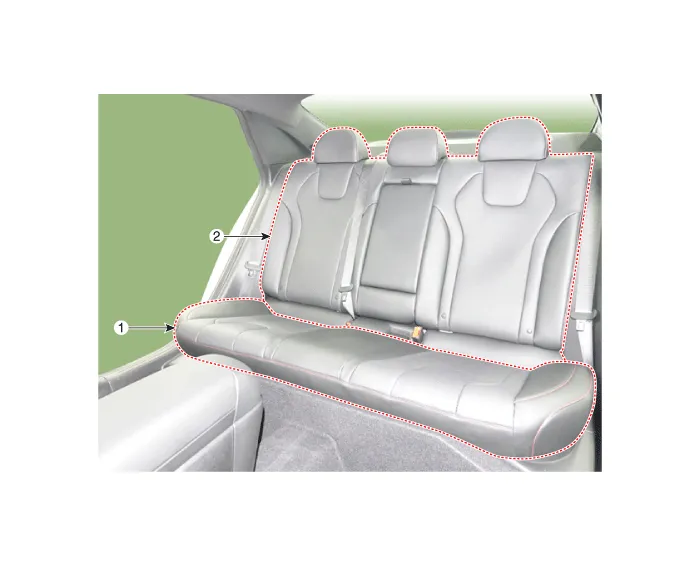
| 1. Rear seat cushion assembly | 2. Rear seat back assembly |
Repair procedures
| Replacement |
[Rear seat cushion assembly]
| 1. | Loosen the mounting bolts, remove the rear seat cushion assembly (A).
|

| 2. | Disconnect the rear seat cushion connector (A).
|

| 3. | To install, reverse the removal procedure.
|

[Rear seat back assembly]
| 1. | Remove the rear seat cushion assembly. (Refer to Rear Seat - "Rear Seat Assembly") |
| 2. | Fold the rear seat back assembly (A) by pulling the folding lever in the direction of the arrow.
|

| 3. | Separate the rear seat cover (A), loosen the mounting bolts and remove the rear seat assebmly (B).
[LH]
[RH]
|


| 4. | To install, reverse the removal procedure. |
Components[General type]1. Rear seat back assembly [LH]2. Rear seat back assembly [RH]3. Rear seat back armrest4. Rear seat cushion assembly [General type]1.
Components and components location Component Location [General type]1. Rear seat back cover [LH]2. Rear seat back cover [RH][N Line]1. Rear seat back cover [LH]2.
Other information:
Hyundai Elantra (CN7) 2021-2026 Service Manual: Specification
S
Hyundai Elantra (CN7) 2021-2026 Service Manual: General safety information and caution
Instructions (R-134a)When Handling Refrigerant1.R-134a liquid refrigerant is highly volatile. A drop on the skin of your hand could result in localized frostbite. When handling the refrigerant, be sure to wear gloves. 2.It is standard practice to wear goggles or glasses to protect your eyes, and gloves to protect your hands.
Categories
- Manuals Home
- Hyundai Elantra Owners Manual
- Hyundai Elantra Service Manual
- Clutch System
- Front Bumper
- Recommended Lubricants and Capacities
- New on site
- Most important about car

Copyright © 2026 www.helantra7.com - 0.0201